by: Anthony Limbrick Jr
A common question that I get asked from beginner photographers and videographers is "how do I get a blurry backgrounds in my photos or videos?" and I have with 3 methods that can help you achieve the look you want in your images and footage.
Listed below are some lenses I recommend for you to use.
Method 1: Depth of Field
Method 1 is the "Depth of Field" method. And this is a method that you can apply right now, for absolutely no money. All you have to do is distance yourself from your background. (Shown in Depth of field Diagram)
With this method, the background is blurry because its out of focus, or in other words, out of your lenses depth of field.
Depth if field is the zone of acceptable sharpness in a photo that we consider to be in focus. And the size of your depth of field changes with the aperture of your lens. Since you are most likely a beginner, I'm gonna assume that the lens you have is the kit lens which I know has a variable aperture of F4-5.6.
Since the aperture of F4-5.6 isn't that fast, it means that the depth of field is going to be bigger. THEREFORE you are going to need to put even more distance between yourself and the background.
With this method it is visually appealing because your subject is sharp and in focus while the background is out of focus (as shown Photo A). Remember that this applies to both photos and videos.
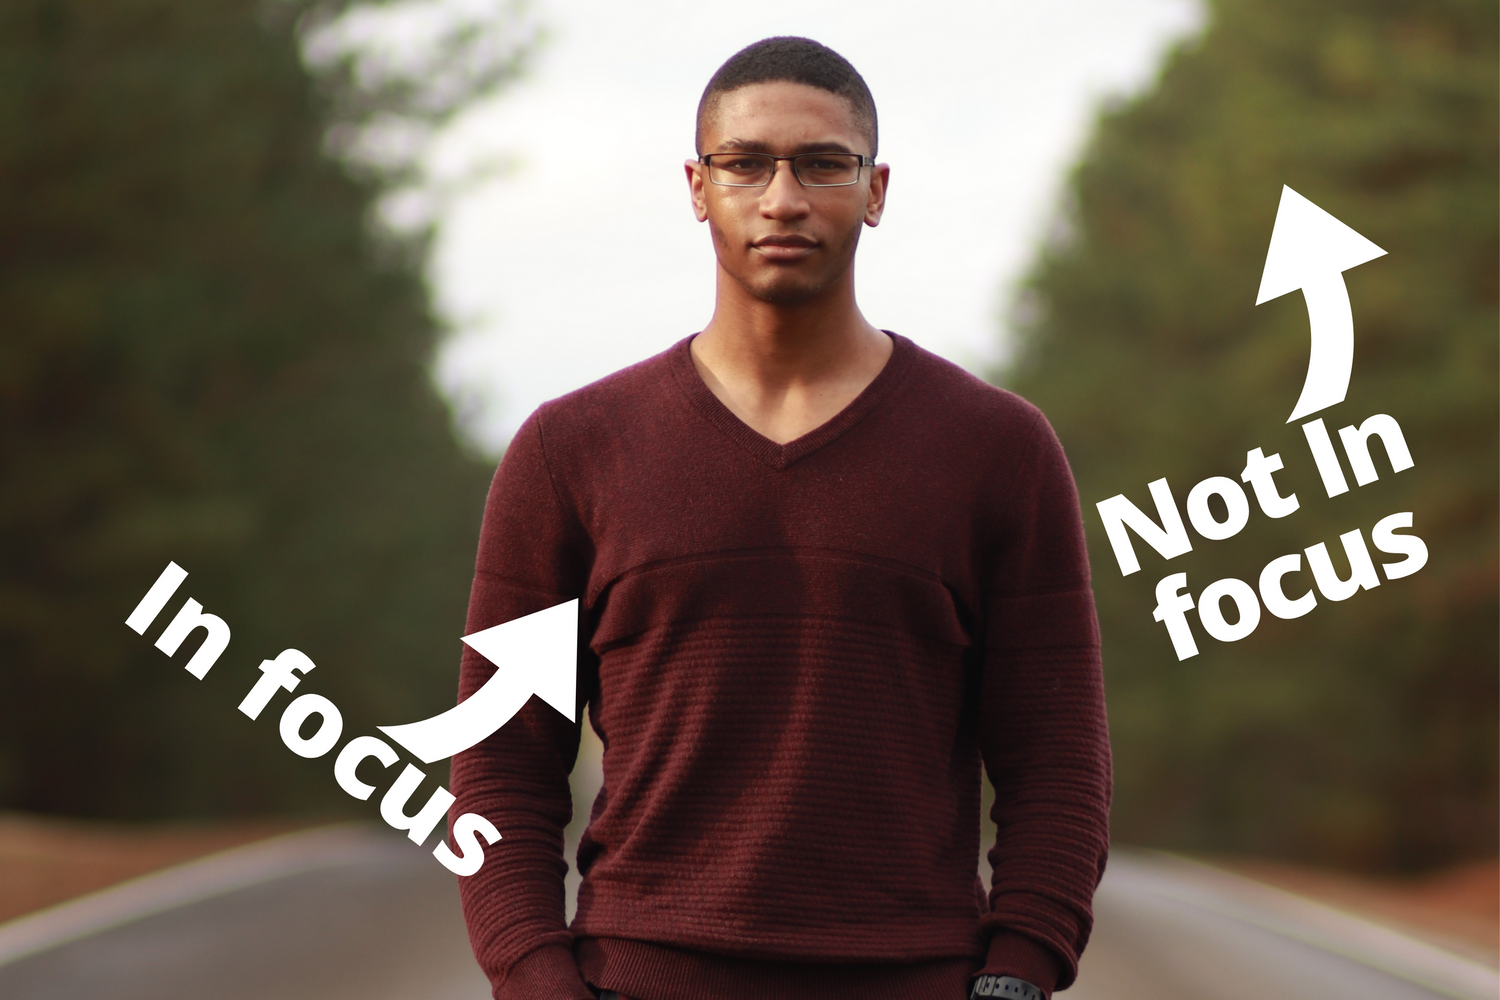
Photo A
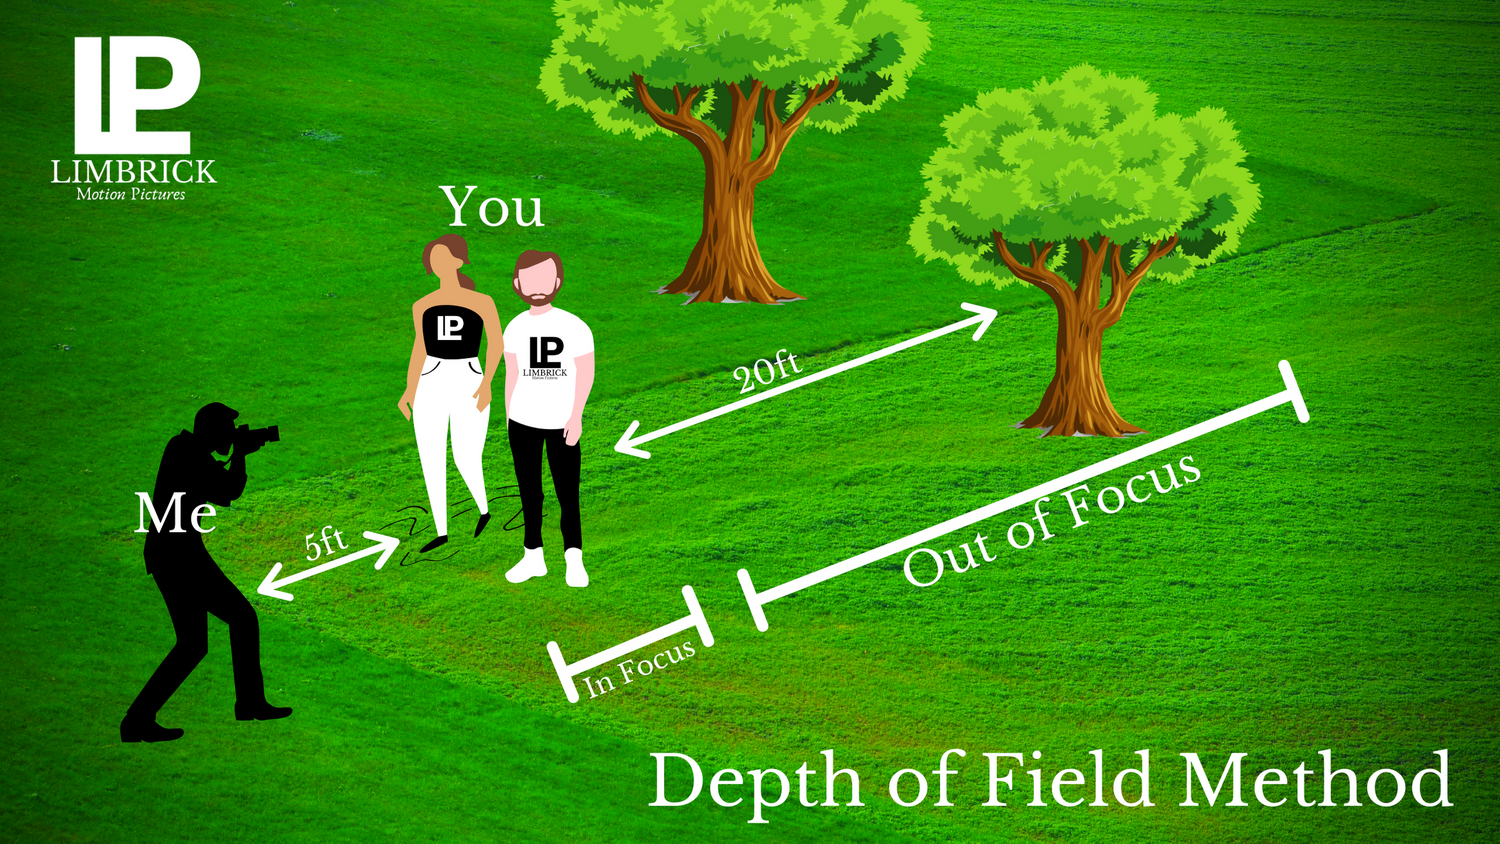
Depth of Field Diagram
Method 2: Compression Method
Next is Method 2 which is what I like to call the "Compression Method." So, compression is what your eyes perceive when the background appears closer to a subject but is larger than it actually is.
So the longer your lens is, the more it will pull in a narrower part of your background. And you really notice it when using telephoto lenses. The downside it that your camera will need to be further away from your subject in order to fit your subject in frame.
The telephoto lens I have in Photo B is the Canon 70-300mm F4-5.6 and this lens really shines on bright sunny days when your subject is far away. Link here: https://amzn.to/3cdriMz
So if you're a person who doesn't talk with their hands, then maybe to can use a longer lens and shoot some talking head videos. Similar to Micheal from V-Sauce.
With this method it is visually appealing because your subject is sharp and in focus while the background is enlarged and out of focus (as shown in the Compression diagram). And this really makes your subject stand-out from the background.
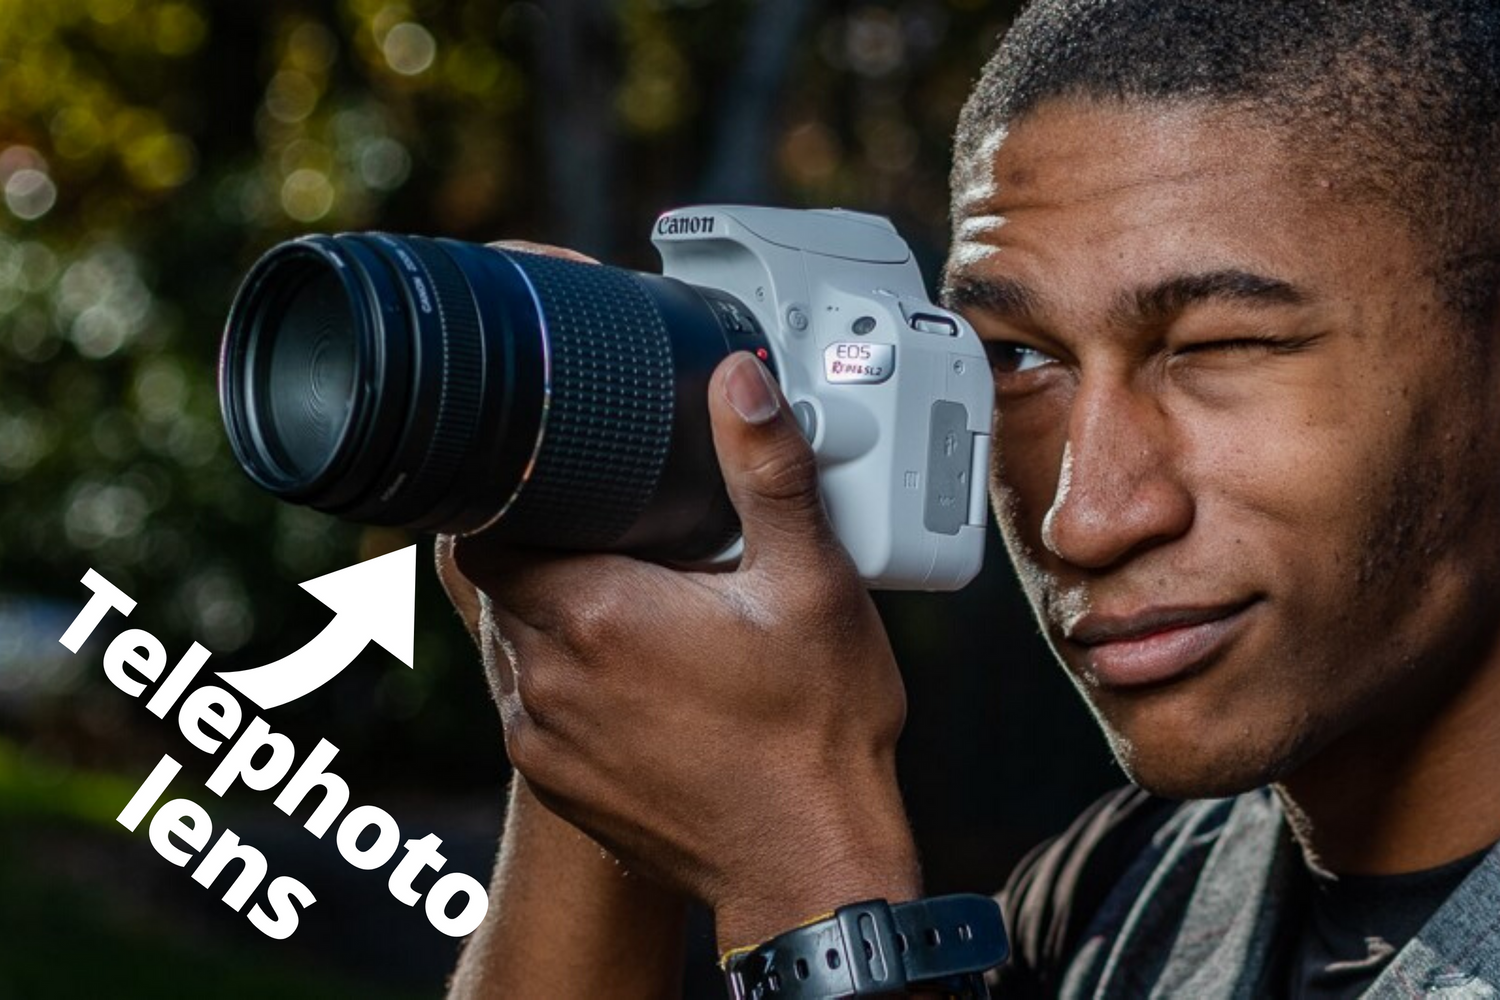
Photo B
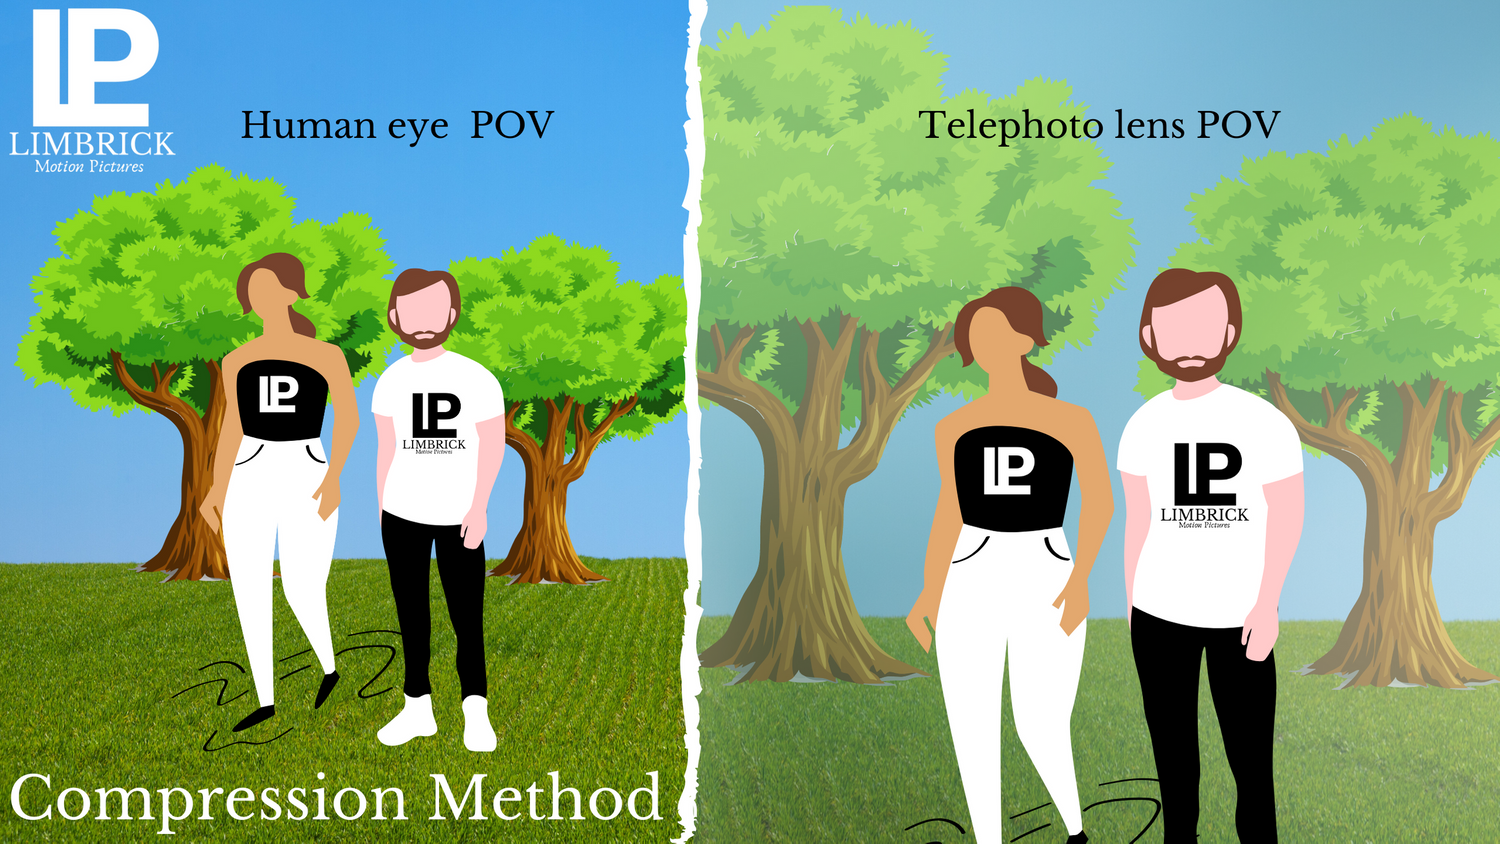
Compression Diagram
Method 3: Fast Lens Method
Last but not least is Method 3 is what I like to call the "Fast Lens Method" this is the most expensive method, because it revolves around buying lenses with fast apertures.
With this method, your lens will widen to let in more light, which means that you will have a much narrower depth of field, UNLIKE in method 1. Therefore all of the out of focus elements in your frame will be even more out of focus without having to move further away from them.
With this method it is visually appealing because your subject is sharp and in focus while the background melts into this soft buttery-ness and your subject just pops out more. (All straight out of camera) (No editing needed).
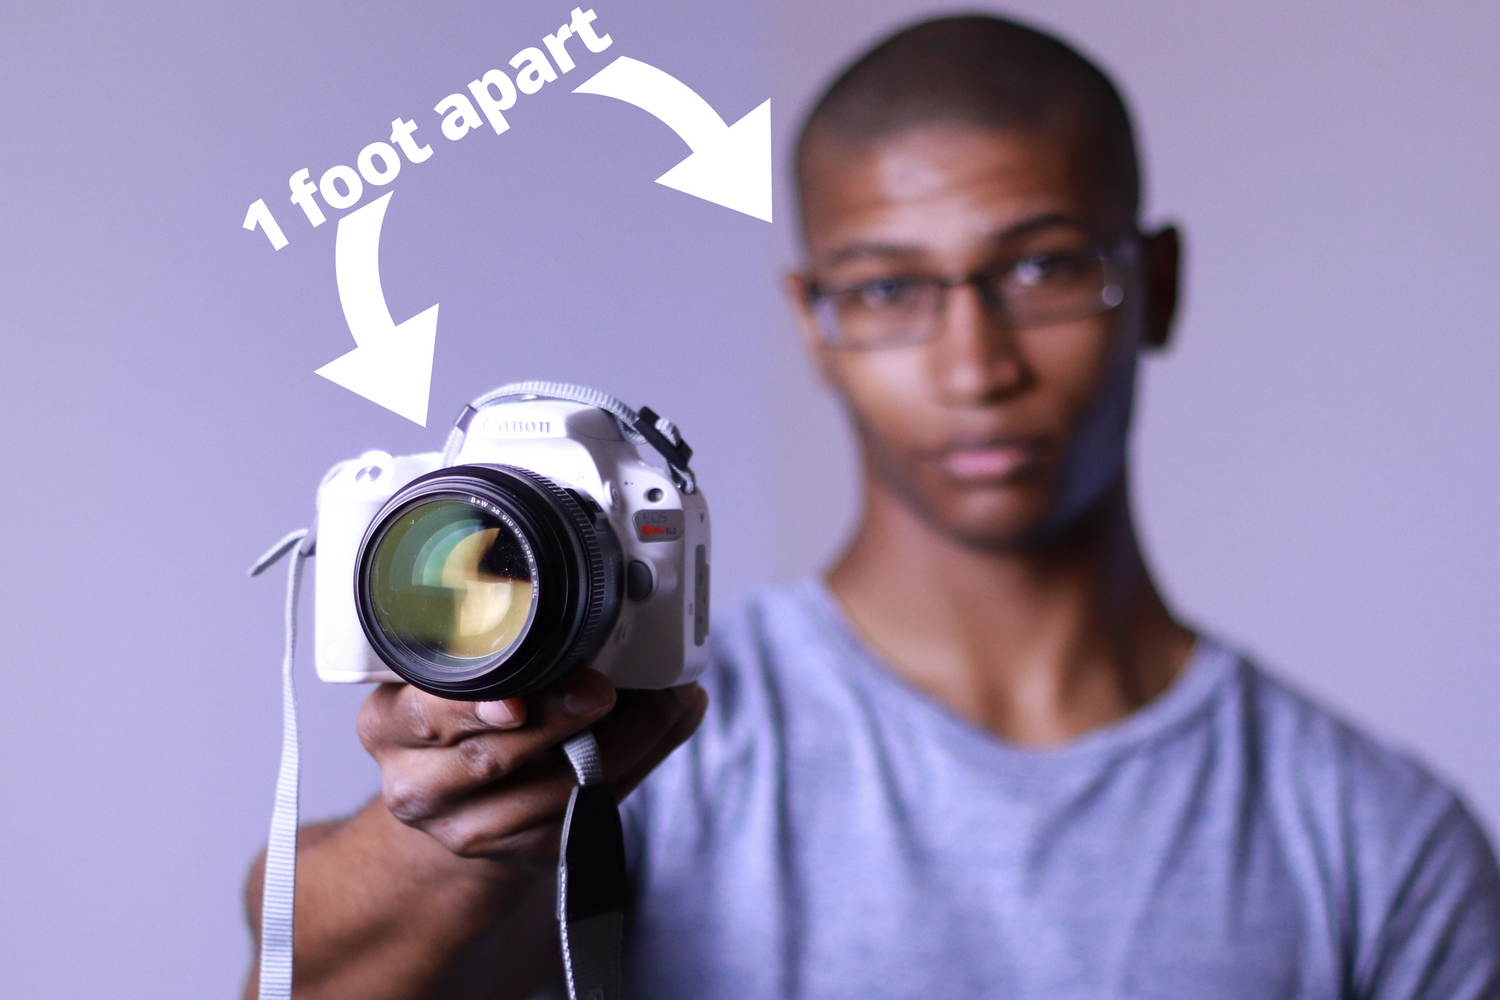
Photo C, Shot with Canon 50mm F1.8 ii
Some Lens Options for you!
These are amazon affiliate links!
Wide angle lenses
Click or tap image to buy updated version on Amazonon Amazon
Budget option
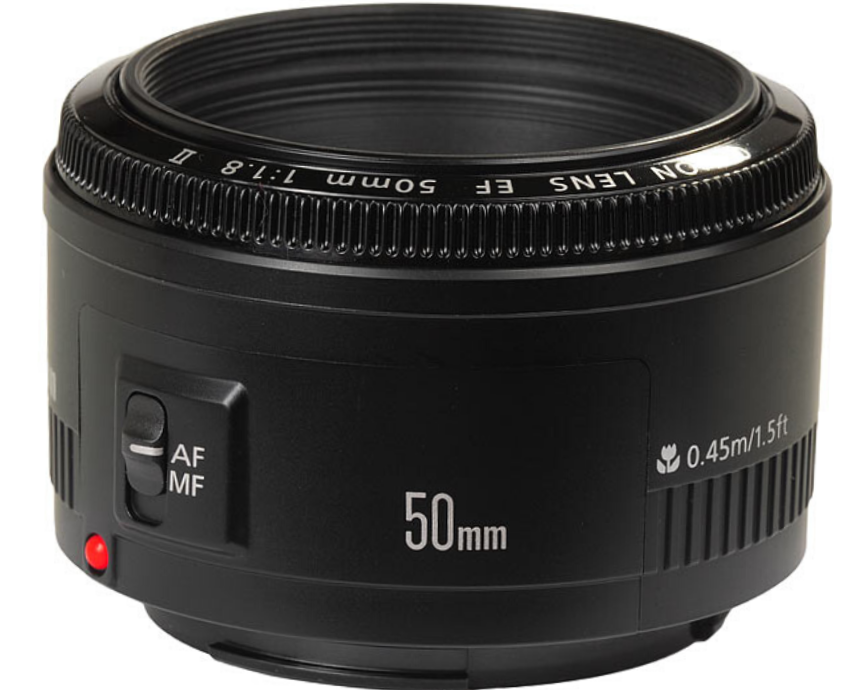
So you're budget option would be to buy the 50mm F1.8 ii (also known as the nifty fifty) and use some distance to get enough of your subject in the frame. Sadly you'll have to look for this lens on ebay (Link here), but on amazon the newest version of this lens is available!
Pros: For my photographer's this is an excellent lens for portraits, because there is some very nice separation between your subject and the background. AND this is one of the cheapest lenses you can get your hands on.
Cons: For my video peeps, this lens is pretty loud when its focusing, so you might want to use a lavalier microphone so it doesn't pick any of that up.
I also know that Yongnuo has a 50mm lens that's 53 dollars on Amazon. Link here: https://amzn.to/2TIqyZg
Click or tap image to buy on Amazon
Hobbyist option
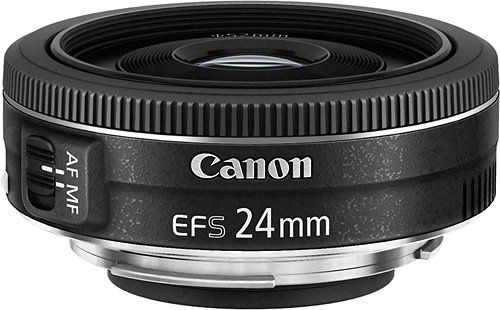
If your willing to put a little skin in the game your hobbyist option is the Canon 24mm F2.8 aka the pancake lens. Link here: https://amzn.to/3c6Y3uL
Pros: For my videographers, this is very silent when focusing and it makes for a great beginner vlogging lens. It's also super lightweight and takes up little space!
Cons: Not not the shallowest depth of field, but still a lot better than the kit lens.
Click or tap image to buy on Amazon
Pro option
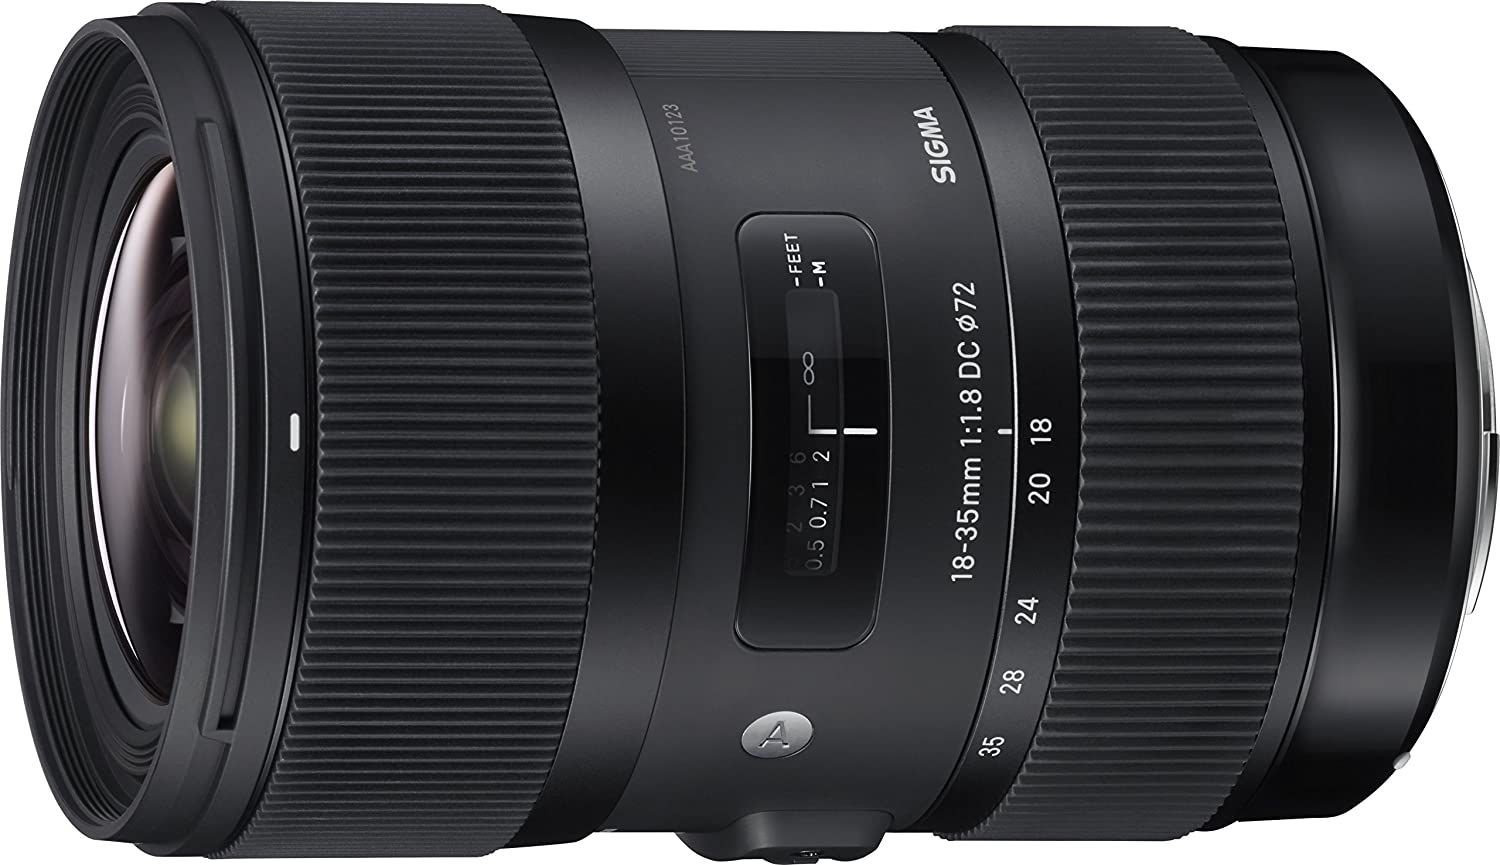
If you know that creating videos is something you want to do full time, Then I present to you the more professional option which is the Sigma 18-35mm F1.8. Link here: https://amzn.to/3gtklu3
Pros: excellent for low-light situations because of its fast aperture and it's excellent for video.
Cons: It runs for about $640 dollars (I can assure you that's it is well worth the money!) It's a fairly heavy lens.
Medium to Telephoto lenses
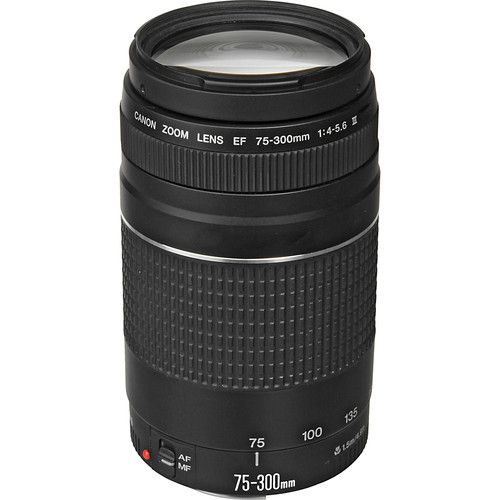
Budget Telephoto option
As mentioned before, the Canon 70-300mm F4-5.6 is a variable aperture telephoto lens that works best on a sunny day when your subject is far away, but if you are in an area where you can control the light coming in, that shouldn't matter. Link here: https://amzn.to/3cdriMz
This is the only telephoto lens that I would recommend (for Canon) because other lenses with faster apertures would cost you an arm and a leg.
Pros: Excellent in daylight, nice compression of your background good for taking images at medium -long range distances. It is an EF mount so you can shoot it on crop sensors and full frame.
Cons: Not the best in low light conditions
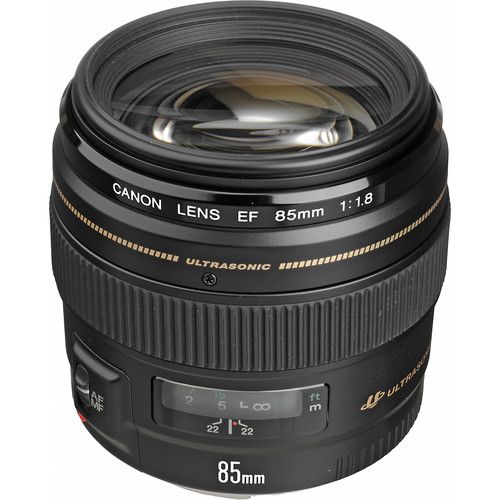
Medium Telephoto Option
The Canon 85mm f 1.8 is a bokeh beast, if you want to REALLY upgrade your portraits and b-roll for video, this is the best lens to add to you collection. (Ebay Link) Amazon Link here: https://amzn.to/3er8L0H
Pros: Delivers BEAUTIFUL, and I mean beautiful b-roll for my video peeps, and has some amazing subject separation with its combination of compression, and fast aperture. It is an EF mount so you can shoot it on crop sensors and full frame.
Cons: Its an older lens so it isn't weather sealed. but most likely since your a beginner, your camera isn't weather sealed either. So you won't be out in the rain taking photos anyway...unless you have an umbrella.
The updated version of the 50mm
Link here: https://amzn.to/2XH6mbo
Sadly all my lens choices are for canon. Because that's what I use to shoot, but the millimeters and apertures, are universal, so the information works with any camera!